


To start off our insect lesson, we compared what we know about the traits of animals, people and insects. However, this may be better for the end of an insect unit.


Here are my favorite Pinterest inspirations from other amazing teachers! Just click the picture to see the website of the original creator of the activity.


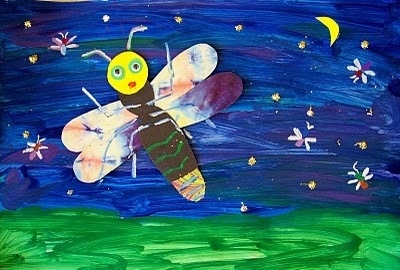

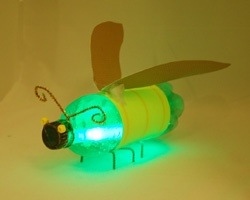
Firefly Craft- Add a glow stick inside of a mountain dew bottle! (idea found on Pinterest)


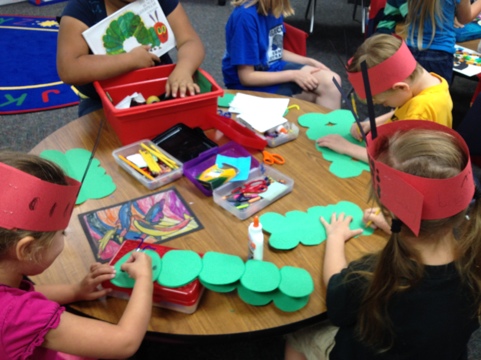


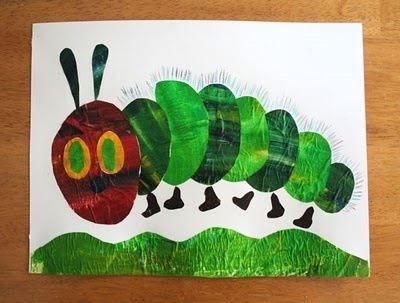
We just completed a fun “Hungry Caterpillar” activity, using real fruit and a caterpillar toy to retell Eric Carle’s story. My students also tasted each fruit, just as the caterpillar did!

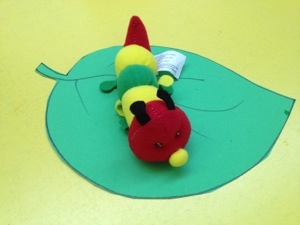

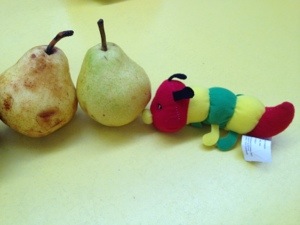
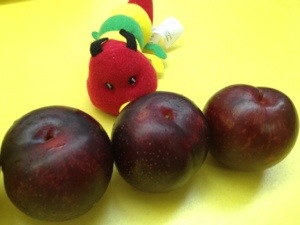

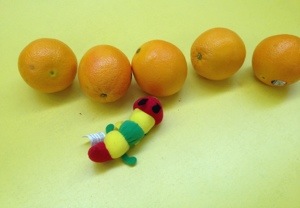

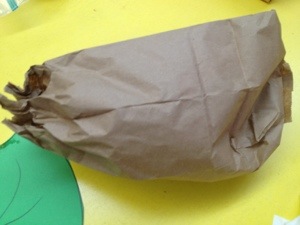


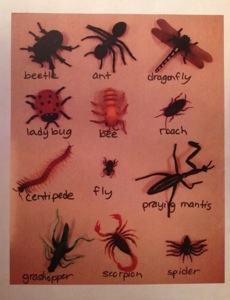


Image by DrBacchus via Flickr
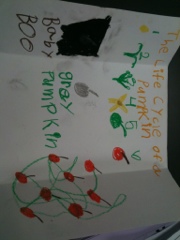
A WebQuest is like a field trip online-for kids. I made this one about Pumpkins because when I searched online, I could not find any that were useful. Most links on existing WebQuests, had links that no longer existed. This was really frustrating because I have some students that could benefit, but they too would become frustrated if the links did not work. I was inspired by what I found online. So, I hope others can benefit from this webquest! Enjoy! You can begin the quest below, online-or you can print the student page so that the student can write on it, to document their journey. Be sure to read the teacher form to find out the many uses of this WebQuest. Have fun!
Pumpkins WebQuest-student form
The first thing a Webquest detective needs to know is how to find the hidden pumpkin pictures. Click the mouse on the
underlined words. http://www.aftonapple.com/pumpkins.htm Good Job, you found the first set of pumpkins!!! What did they look like?
___________________________
Task 2 – Pumpkin Types
Pumpkins come in many shapes and sizes. Click on the following links to see! Styrian and little green seed http://www.liseed.org/snackseed.html
Holsteinwhite http://www.foreverwherever.com/2009/10/white-pumpkins/
Pumpkins with the name Baby Boo Canyou guess why one of these pumpkins is called Tallman? And Still MorePumpkin Pictures
Grey Pumpkins http://www.flickr.com/photos/51165730@N08/6109211095/
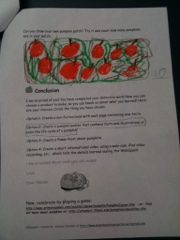
Draw a picture of your favorite pumpkin. Try to list its type and use the correct colors too!
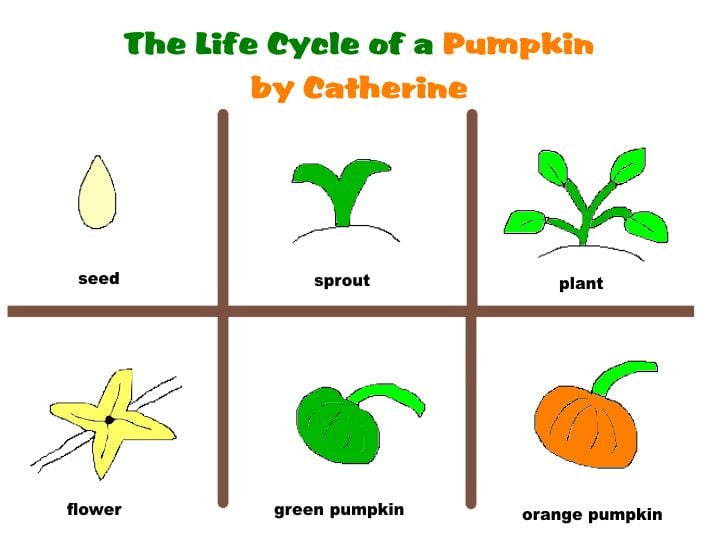
Task 3- Life Cycle
Learn about the life cycle of a pumpkin.http://csstechnology.edublogs.org/files/2008/10/pumpkin-life-cycle.jpg (You can ask for this to be printed and then you can cut and glue the pictures in order) Now, draw the life cycle in order. Start with the seed.
1. _________ 2._________ 3._________ 4._________ 5.________
Task 4- Pumpkin Patch
Did you know that pumpkins grow in patches?
Click on this link to see how it starts. http://tricogreenteam.org/the-teaching-garden/finally-the-pumpkin-patch-gets-planted/
Can you draw your own pumpkin patch? Try it and count how many pumpkins are in your patch.
Conclusion
Love,
Listen to this wonderful story on YouTube, based on the book “Spookly the Square Pumpkin”


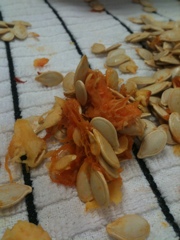
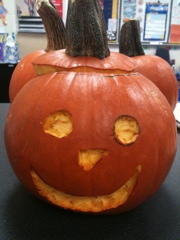
We had fun opening pumpkins today!


Have you seen Sid the Science kid, yet? The first time I saw my six year old watch this show on PBS, I saw how involved she became. The characters are interactive and when I watch the show, I learn something new about Science. It is amazing to see these students in the classroom and home setting. In the classroom, the teacher shows the children the steps of the scientific method: “Observe! Compare! Contrast! Describe!” Scientific journals are also used in Sid’s classroom. I get some great teaching ideas from Sid. I am grateful that PBS has created such a wonderful learning experience for our youngest scientists!
The best part of this show is that you can show students each episode, from your computer-at school! I project it onto the screen in my classroom and then my students take part in many of the activities afterwards. For teacher resources, you can visit this link: http://www.pbs.org/parents/sid/ Also, I discovered a blog, where a mom and her boys, test out experiments from various episodes. How amazing! Here is that link: http://www.pbs.org/parents/sid/blogs/parents/
These are some of the topics that Sid teaches:
There are even games that go along with each topic. I just played the weather game. I had fun spinning the weather wheel and then dressing up the character with appropriate clothing! You can even sing 1-2 minute video song clips about his Science topics. What I like the most is that this program and interactive website meets children where they are at. It encourages critical thinking by asking higher level questions, like why? and how? Sid models collaboration as he engages in problem solving discussions. The children are engaged as they learn from Sid! Most of the games on this site can be played on the interactive whiteboard as well.
Sid has an “Investigations” clip video where a real class makes applesauce. Our class viewed the short clip from http://www.pbskids.org and watched how the students figured out the best way to use heat to make applesauce. We then decided that we needed ingredients and a recipe. So, for shared writing, I wrote what they children shared!
Then, I had each student then cut up about ten apples. They did it with plastic knives and has so much fun! They then added them to the crock pot along with sugar, water and cinnamon. We cooked it from 10am to 2:30pm on high heat. At 2:00, I let them each stir and mash the cooking apples. Then when the applesauce was ready, I scooped it into a cup, gave them each a fork-and they enjoyed. Every single student enjoyed eating it! I can’t wait to do it again next year!

This is what the apples looked like at 2:00.

Yum! This is how we enjoyed eating our applesauce!

Here is our shared writing poster.

Image via Wikipedia

Making a small parachute from a coffee filter and a used paper/ plastic cup, is the first step in teaching young minds about wind power. I was inspired by this activity at the children’s museum and I plan to use it in my classroom. (I have pictures to add, taken from my iPhone, but I am trying to figure out how to do so with my wordpress app). After giving my children some “think time” in the car ride home from the museum, they decided that we could build our own wind tunnel at home with either glass (yikes) or poster board. So, after payday, we plan to build a wind tunnel from poster board the has been rolled and taped into a tall cylinder. Then, our plan is to place a fan (whichever we can find) under the tunnel and drop our special made coffee filter parachutes into it. It should also be fun to experiment with fan speeds, location and parachute design to evaluate the power of the “wind.” I am getting excited as I write this! Is this something your children at home or school would enjoy? Please share!
