
Gingerbread house making is so much fun, for my younger and older children and me as well!
We have made those houses and trains from the kits, but these homeade gingerbread houses are the best and the most fun! It is also fun to build in the classroom, if you have extra classroom help like parents or a teacher assistant.
Step by Step Picture Directions of “How to Build a Gingerbread House”
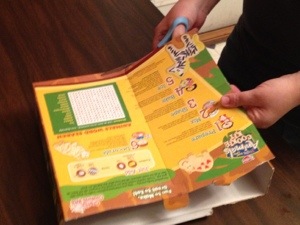
1. Carefully open the Graham crackers, so that none will break.

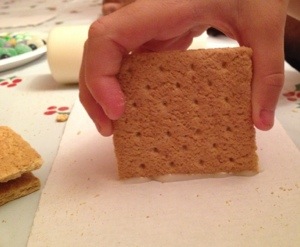
2. Carefully snap the rectangle crackers into squares.

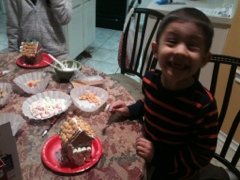
3. Get your work area ready. My daughter, here, is VERY ready!

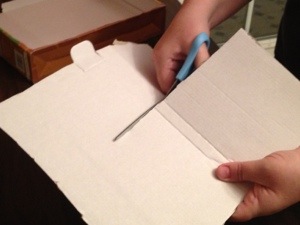
4. Cut out cardboard bases for each gingerbread house from the Graham cracker box or any box you can find.
5. When you flip it over, no one will ever know.
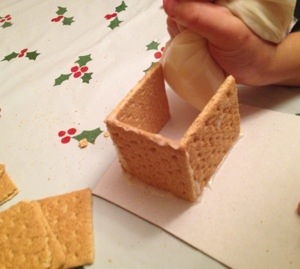
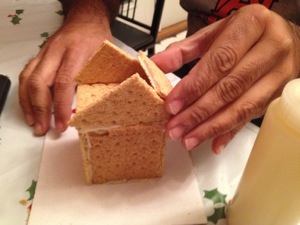
6. Make a strip of icing on the base, so that you can begin “gluing” your first Gingerbread wall to the base. Hold it there for about 30 seconds, or until it no longer flops down.


7. Repeat. Add your second wall by adding more icing.
*************************
Pause for the most updated 2016 Pictures!!!!!


**************************
unpause—–Continue with directions……..
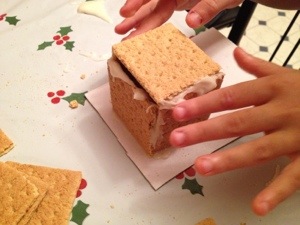
8. As you add more walls, the house becomes more sturdy.
9. Oh, look how cute the house is looking!

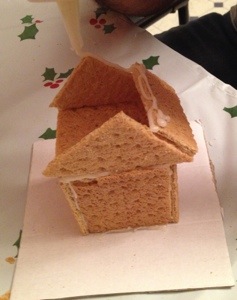
10. This part can be more tricky. If you keep your home or class a little colder than normal, it helps the icing stick better for some reason. The triangles were made by cutting one square in half.

11. Now, add the top of the roof. Be sure to add icing to hold it all together.


12. Or, you can just add a square on top and skip those other steps above.

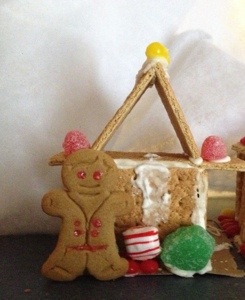
13. Now, gather your candy. Eat some.

14. Now, go decorating crazy!


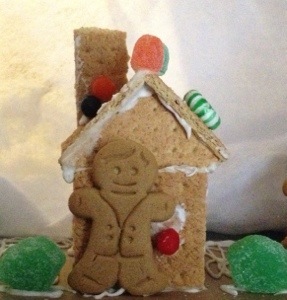
Here is our little Neighborhood!
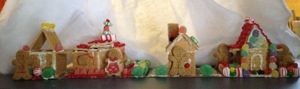
Scroll down for the Recipe and Directions, so you can make your own Gingerbread houses too!
Sidenote & Reflection…..In 2011, I wrote: “This is the second year I will be making Gingerbread houses with my own children and my Kindergarten students. This is a fun way to incorporate Recipe reading and following directions step-by-step. Thanks to some other wonderful teachers, I was able to learn the basic rules of gingerbread mastery! Granted, it was a little stressful the first time, I am now ready to take on this tradition yet again. I also found so many other teachers & parents who are doing the same thing! It can be done with fun!” My, oh my, how my children have grown. These pictures here are from 2 years ago-wow!
We put the candies into coffee filters, to keep them from rolling all over the table. Our children are 3, 5 and 7 here.

I made the base of the houses first and let the icing dry for one day. The next day, I let the kids add the candies with their royal icing. They dipped their candies into the icing then added the candy to the gingerbread house.

Our little one enjoyed adding cereal and marshmallows to his little house. Whatever you have on hand always works best.
Gingerbread House Ingredients:
Brand Name Graham Crackers – 1 box
1 pound of Confectioners Sugar
3 eggs
Vanilla (optional)
Cream of Tartar (for Royal icing-do not skip this)
Candy Suggestions -Red hots, gum drops, Spearmint leaves, Lemonheads, M & M’s, round mints
Directions:
Choose a base, like a small paper plate or a piece of cardboard, to place the gingerbread house on. You will need 7 graham cracker squares for each house, 4 for the sides and 3 for the top. Allow time for the bottom to dry before creating and adding the roof with the icing.
To store and use the icing, you can choose either a ziploc bag, an icing bag with a decorator tip or a squeeze bottle. Just recently, I started using some cute little bottles from Wal-Mart, which are very convenient.
Royal Icing Recipe (Compliments of J.Thomas)
1 lb. powdered sugar
3 egg whites
1/2 t. Cream of Tartar
1/2 tsp. vanilla extract (optional) this adds nice flavor!
Beat egg whites until frothy, for about 7 minutes (I always beat it by hand). Gradually add sugar and Cream of Tartar. The icing should be a little thicker than Elmer’s glue. Place in a bag or container. It can be kept in the refrigerator for up to a week.


 Station 4: Game—
